Visual Defect Inspection Equipment
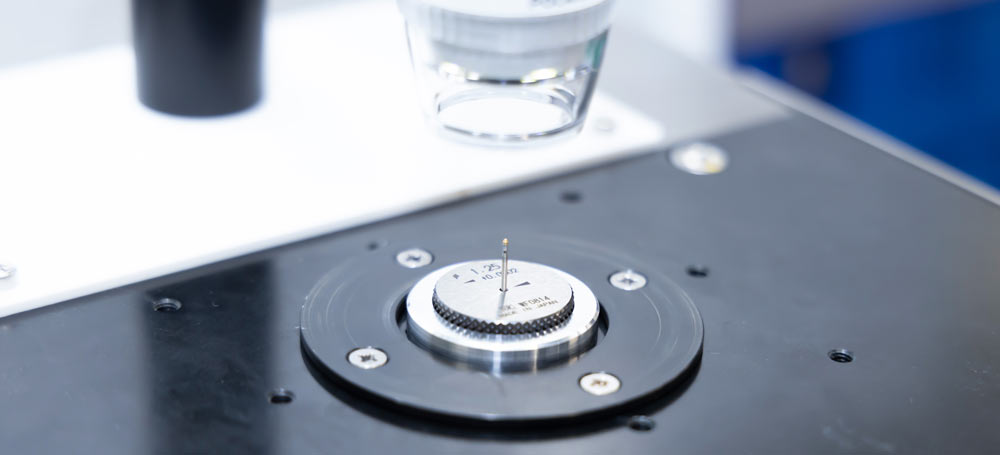
Visual inspection is done as a quality control during the manufacture of parts and products to check external scratches, burrs, chipping, deformation, adhesion of foreign matter, contamination, discoloration, etc.
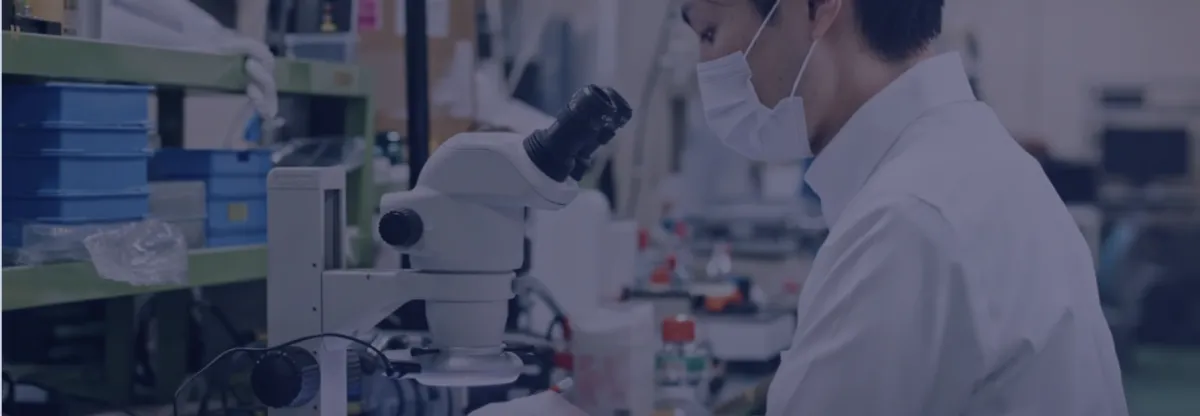
Although it is often done by eye, it may also be performed using visual defect inspection equipment.
For example, such equipment is used for inspecting small scratches and deformations that are difficult to see with the human eye, or defects that are in positions that are not visible, as well as to inspect large quantities of parts and products at high speeds.
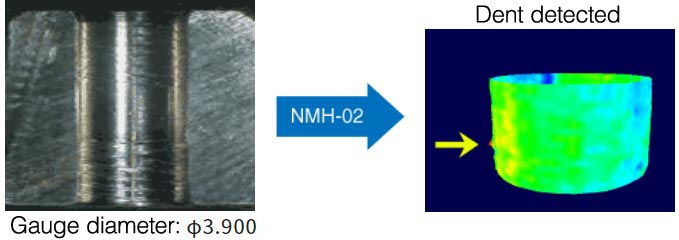
Using lasers and image processing, inspection equipment measures a range of things, including not only the size of scratches, burrs, and chips on the surface, but also their depth or height. It can also detect stains and foreign matter based on differences in color on product images.
Inspection equipment is also used to check flaws on the interior surface of narrow holes or parts with complex shapes. Since these cannot be checked visually without disassembling or cutting the part, inspections are carried out by using equipment with sensors that can access the area being inspected.
There are also examples of visual defect inspection equipment being introduced on production lines for in-line inspection.
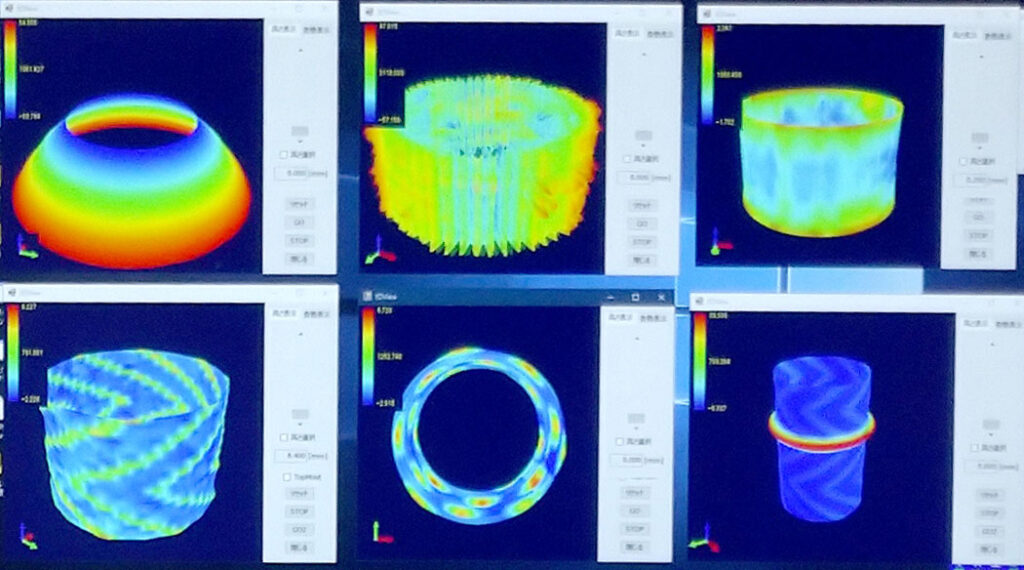
Orbray's optical inner wall precision measuring system negates the need for separate measurements on dedicated equipment. Our device is capable of non-contact, simultaneous measurement of inner diameter, roundness, roughness, and shape. Click here for more info.
-
Roundness and Cylindricity Measuring Machines

-
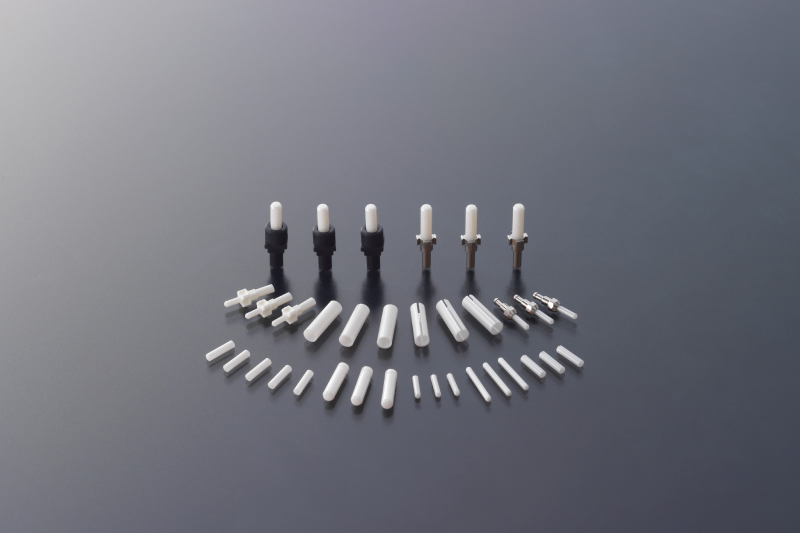
What is a Ferrule? : The history and development of the ferrule continues today with its ever pursuit of high accuracy of 1um or less at reduced costs
-
What is our Optical Inner Wall Metrology System?
-
Inner diameter measurement

-
The World’s Smallest Hollow Shaft Motor
