What is our Optical Inner Wall Metrology System?
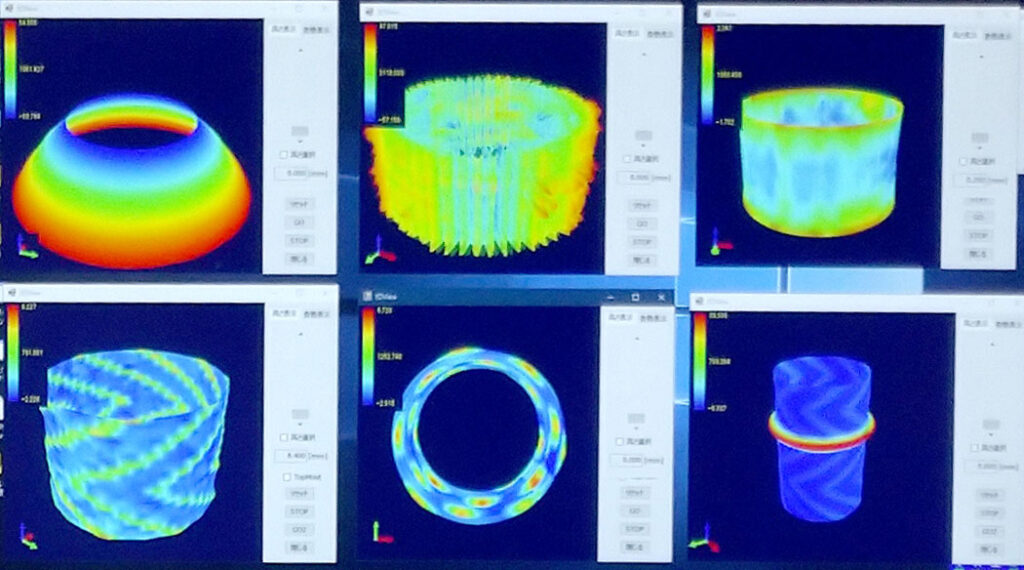
Table of contents [close]
- 1. What is our Optical Inner Wall Metrology System?
- 2. Example of measurement of bore diameter/roundness/cylindricity/ 3D shapes
- 3. Example of 3D measurement of a dynamic pressure bearing groove
- 4. Example of porous/cross-hatch measurement of the inner surface
- 5. Exploratory measuring machine features
- 6. Inquiry
What is our Optical Inner Wall Metrology System?
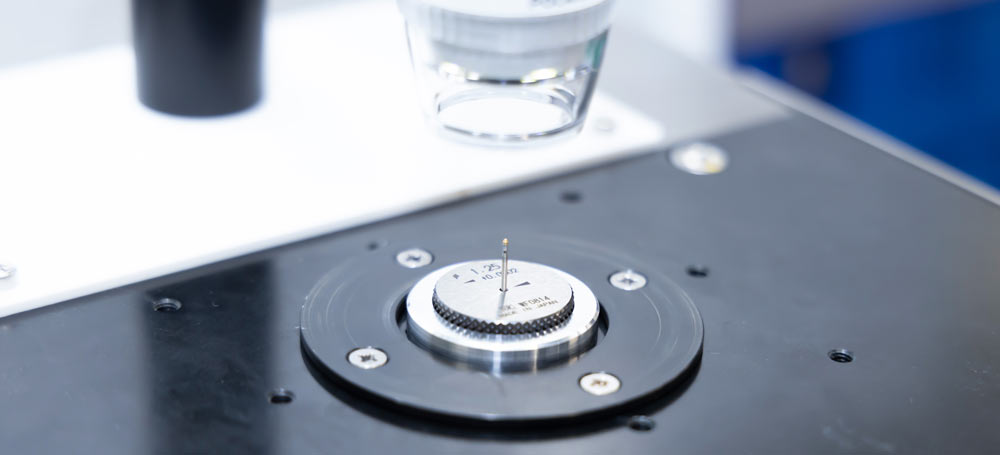
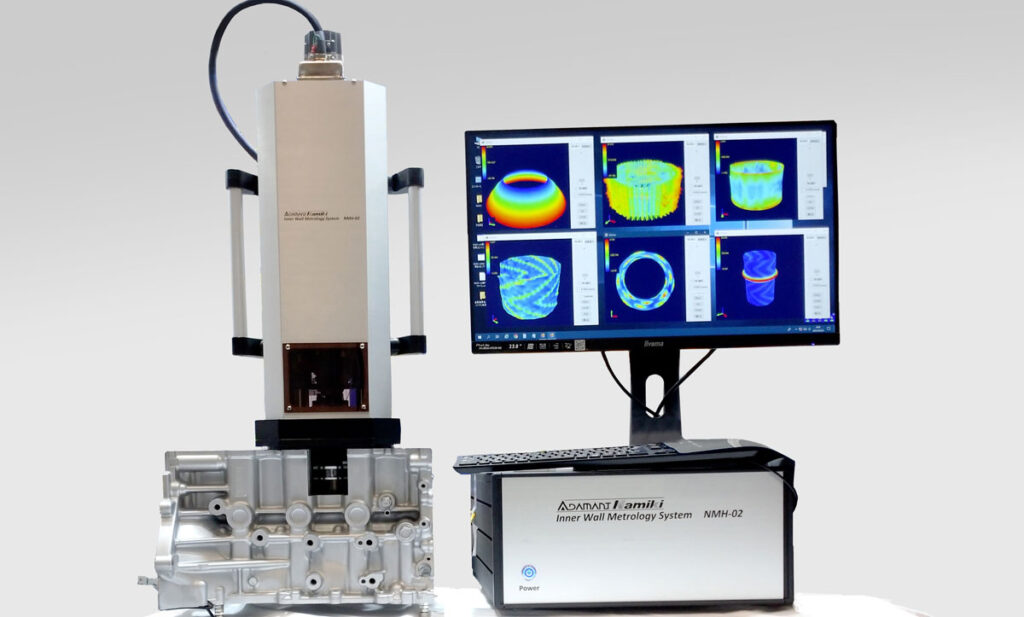
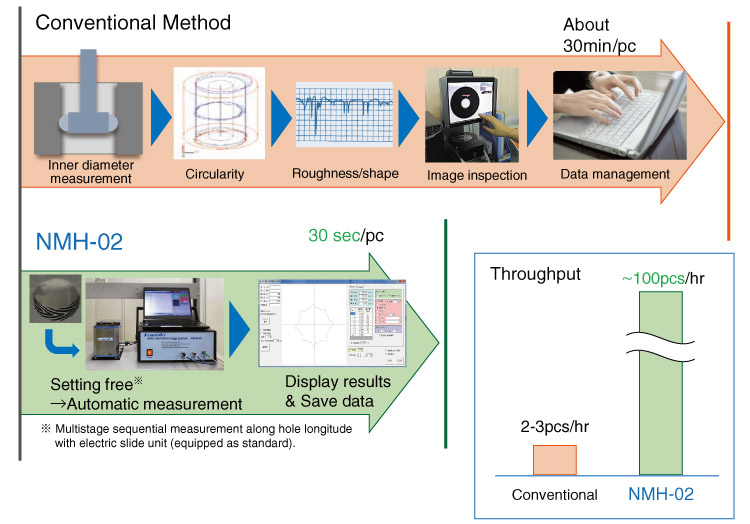
Our new, programmable measuring machine automatically measures the inner circumferential surface of a hole with a diameter of 1mm or more in non-contact 3D, with a high accuracy of 20 nanometers, at a high speed of 5 seconds per section.
This optical non-contact measuring machine not only measures inner diameter, but also measures roundness, 3D shapes, inner surface porous condition and inner peripheral surface roughness.
Example of measurement of bore diameter/roundness/cylindricity/ 3D shapes
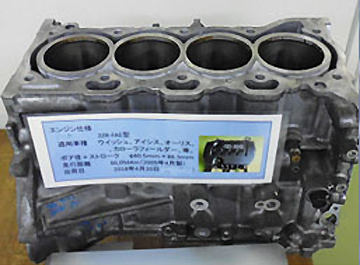
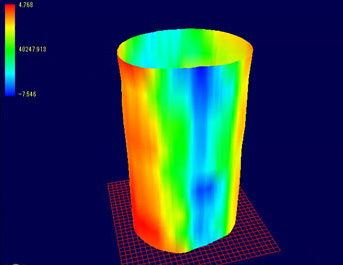
In order to reduce friction on the inner peripheral surface of the cylinder bore, which is said to account for 50% of the friction loss in hybrid-type vehicle engines, companies are processing the particular shapes of the inner peripheral surface, and performing automatic inspection of the 3D shapes for accuracy.
Our Optical Inner Wall Metrology System automatically measures these accuracies in 16 to 25 seconds per bore to help stabilize our customer's process/product performance.
In this example, the measurement accuracy achieved is in the range of 0.02μm to 0.2μm.
Example of 3D measurement of a dynamic pressure bearing groove
Dynamic pressure bearings are built into motors and lubricated with a special oil.
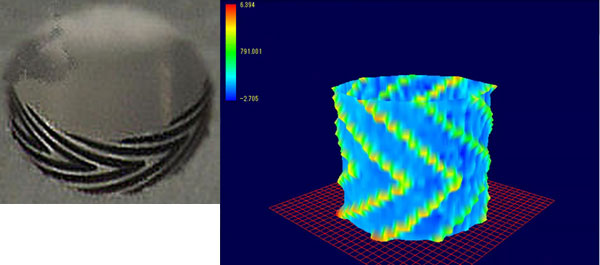
A special dynamic pressure generating groove is micro-machined on the inner circumferential surface, and the oil is gathered through self-rotating force to generate pressure, which results in non-contact rotation.
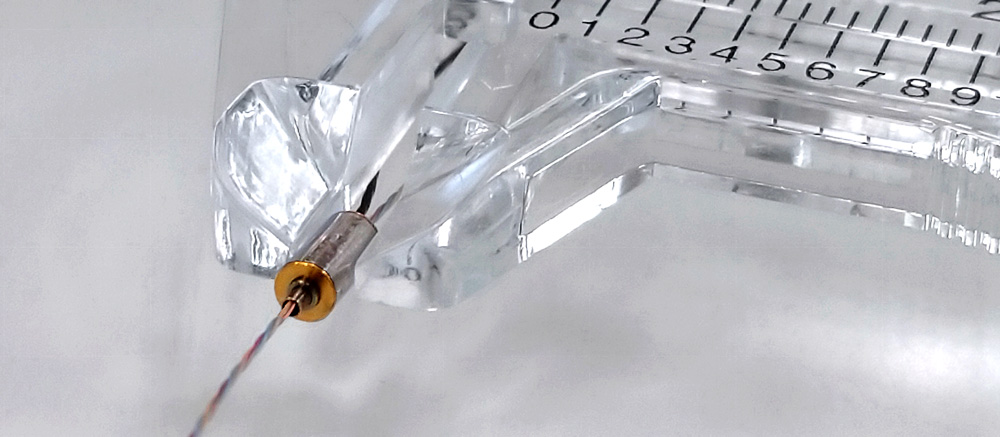
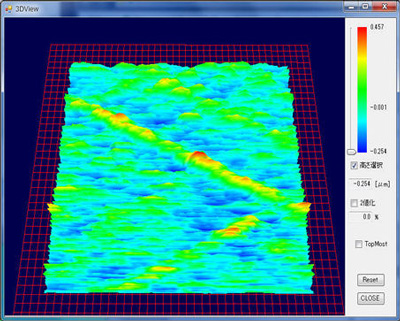
In our Optical Inner Wall Metrology System, an ultra-fine optical rotary probe with an outer diameter of φ0.9mm enters the bearing bore, and acquires 3D profile data of the inner peripheral surface. The accuracy of the dynamic pressure generating groove is displayed on the monitor along with the gathered machining accuracy data.
Example of porous/cross-hatch measurement of the inner surface
Sintered metal guide parts used in sintered bearings and automobiles have porous recesses with a constant area ratio on the inner peripheral surface to keep lubrication at the best condition.
In the past, this porous ratio could only be obtained by cutting the bearing and guide parts vertically and observing them with a camera, or by using a microscope to determine the area ratio.
In other words, there was only a destructive test method.
With our Optical Inner Wall Metrology System, the optical probe is advanced into the bearing hole so that the hole's inner surface can be easily measured without having to cut the bearing vertically.
That is, non-destructive inspections become possible.

Exploratory measuring machine features
Our Optical Inner Wall Metrology System is the first in the industry to adopt a new measuring method called the "quartz pipe standard inner periphery measuring method".
Conventional optical measuring instruments have poor measurement accuracy because of the rotational sway change of the scanning mirror of the optical probe.
Furthermore, the temporal change in the measurement starting point of the optical unit containing the long optical fiber (aka fluctuation of the optical system) hinders measurement accuracy.
Our new "quartz pipe standard inner periphery measuring method" can solve these problems in principle, and its advantages are being evaluated and adopted by many customers.
Inquiry
